Are you ready to take on the challenge of building your own BMX bike? Look no further because we’ve got you covered! In this comprehensive guide, I’ll provide ten easy steps to build your customized BMX bike, from picking the right parts to assembling them yourself. Whether you’re a seasoned rider or just starting, building your own BMX bike is an exciting and rewarding experience. Let’s get started!

How to build a BMX bike in easy steps? A Complete Guide
Alright, guys, we’re getting into the nitty-gritty of building your own BMX bike! In this guide, we’ve covered choosing the right parts and gathering all the tools you need. Now it’s time to start putting it all together!
As you begin installing the handlebars, follow the manufacturer’s instructions closely and double-check all your bolts and screws are tightened to the right torque specs. The assembly process can be time-consuming, but take your time and don’t rush it.
This is your bike, and you want it done right! Before you know it, you’ll have your custom BMX bike designed and built to your specs. So let’s keep going and get this bike done!

1. Understand Your Riding Style and Choose the Right Parts
Before building your BMX bike, you must understand your riding style and choose the right parts accordingly. As an experienced rider, I know that selecting the right components can significantly impact your biking experience.
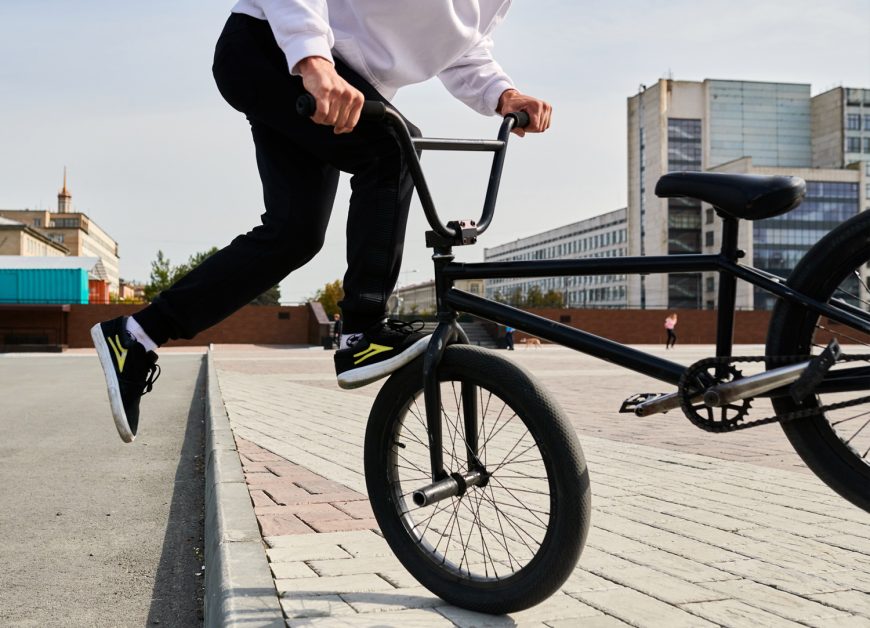
Firstly, consider if you ride freestyle, racing, or dirt. Freestylers typically require parts that allow for more agility and versatility, such as a shorter frame, wider tires, and heavier forks.
Conversely, racing BMX riders require faster, more resilient parts such as a lighter frame, thinner tires, and an aerodynamic handlebar. By understanding your riding style, you can select components that maximize your bike’s performance and ensure that it is customized to meet your needs.
2. Gather Your Tools and Workspace
Now that you have chosen the right BMX parts for your riding style, it’s time to gather your tools and create your workspace. Having all the necessary tools and equipment is important before you start building your bike.
In my experience, the tools required include Allen keys, screwdrivers, pliers, wrenches, a chain breaker, and a spoke wrench. You can easily find these tools at a local bike shop or online. Once you have all the necessary tools, set up your workspace in a well-lit and organized area.
I like to lay out all the parts, tools, and even some grease on a clean surface so that everything is easily accessible. You can use a bike stand or workbench to make your job easier. It’s important to have a clean workspace, as bits of dirt or debris can easily damage your bike’s components. With your tools and workspace set up, you can start installing the handlebars and grips.
3. Installing the Handlebars and Grips
Now that we’ve gathered all the necessary tools and parts, it’s time to start assembling our BMX bike. In the previous steps, we installed the front fork, the bottom bracket and cranks, and the rear wheel and chain.
Now, it’s time to install the handlebars and grips. This step is crucial because the handlebars and grips connect you to the bike. To install the handlebars, first, you need to slide the stem into the steerer tube and tighten the pinch bolts to secure it in place.
Then, you can easily slide the handlebars onto the stem and align them to your liking. To attach the grips, spray a small amount of hairspray or rubbing alcohol on the inside of each grip and slide them onto the handlebars.
Once you’ve positioned them correctly, fasten the grips with the provided screws. Finally, ensure your handlebars are tight enough to avoid wobbling or slipping while riding. With these steps completed, we’re getting closer to having a complete BMX bike!
4. Installing the Fork and Headset
Now that we’ve installed the handlebars and grips, it’s time to move on to the fork and headset installation. This is a crucial part of building a BMX bike, as it will affect the bike’s stability and handling.
First, slide the fork steerer into the frame’s headtube until the bearing sits flush between the two cups. Then, clamp the stem to the steerer tube using the bolts provided. Ensure the stem is aligned with the front wheel and the handlebars are level before tightening everything up.
Finally, install the headset spacers and top cap, and adjust the headset tension according to the manufacturer’s instructions. With the fork and headset properly installed, your BMX bike should be ready to hit the streets or skatepark quickly!
5. Installing the Bottom Bracket and Cranks
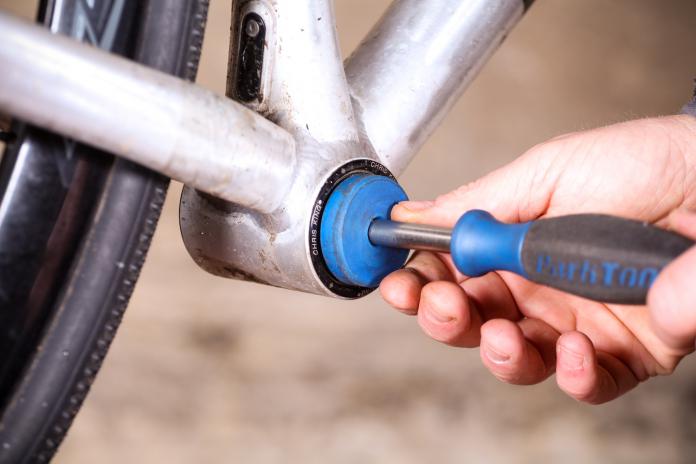
Now that we’ve installed the fork and handlebars, it’s time to move on to the bottom bracket and cranks. To get started, I loosely installed the sprocket bolt to hold the sprocket on the crank arm.
Then, I inserted the small dust cap onto the spindle, followed by the sprocket. It’s important to ensure everything is tightened securely to avoid wobbling or damage during riding. I referred to my manual for this step to ensure everything was installed correctly.
Installing the bottom bracket and cranks is crucial in building a BMX bike because it helps transfer energy from the pedals to the wheels. With this step complete, we’re one step closer to having a fully built BMX bike.

6. Installing the Rear Wheel and Chain
Now that we’ve installed the bottom bracket and cranks, moving on the rear wheel and chain is time. First, ensure the rear tire’s directional pattern is correct and install it onto the bike frame.
Then, adjust the rear derailleur’s position so that it lines up with the appropriate cog on the rear wheel. Once that’s done, thread the chain through the rear derailleur onto the cassette. Confirm the chain is the correct length before connecting it to the chainring.
Finally, adjust the chain’s tension and ensure the rear wheel is correctly seated in the frame. It’s important to take your time with this step, as a dropped chain can cause damage to your bike or even a crash. With some patience and practice, you’ll master installing the rear wheel and chain in no time.

7. Installing the Seat and Seatpost
Installing the seat and seat post is crucial in building your BMX bike. It will ensure you have a comfortable ride and can control the bike properly.
To begin with, choose a seat that suits your style and preference. I recommend a pivotal seat, which is easy to install and remove. Next, clamp the seat post into the tube using a clamp or Seatpost collar.
Ensure it is securely tightened but not so tight that it damages the frame. Adjust the height of the seat post according to your leg length. Your leg should be slightly bent when the pedal is at the bottom of its rotation.
Lastly, check the stability of the seat and seat post after installation by gently wobbling it back and forth. If it moves, tighten it again until it is secure. You can hit the road and test out your newly built BMX bike with a properly installed seat and Seatpost!
8. Installing the Brakes
Once you’ve installed the seat and Seatpost, it’s time to focus on one of the most important parts of your BMX bike – the brakes.
In this step, I will guide you through installing the brakes on your BMX bike. Begin by locating the brake bosses on your frame and aligning the brake arms with them. You can then secure the brake arms to the bosses using the bolts provided.
After that, thread the brake cable through the lever and route it through the cable housing, making sure to adjust the cable tension as necessary. Finally, test the brakes to ensure they work properly and adjust them if needed. Remember, properly functioning brakes are essential for your safety, so take your time with this step and ensure everything is done correctly.
9. Adjusting the Bike’s Gearing
Now that you’ve installed all the necessary components of your BMX bike, it’s time to tackle the gears. Shifting gears on a bike can be intimidating, but with the right knowledge, it’s not as daunting as it seems.
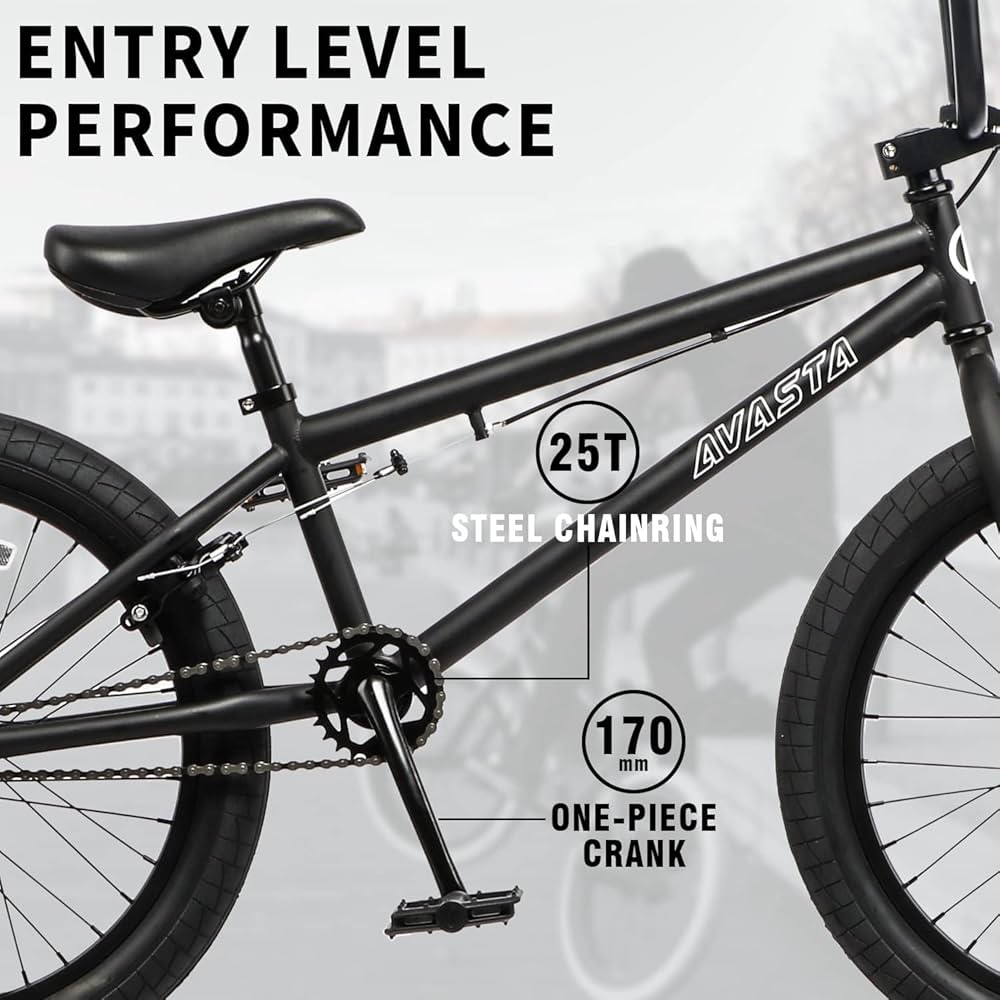
First, you need to understand the concept of gear inches, a numerical value given to how a particular chain wheel/cog combination feels. Once you understand this, you can adjust the gears to meet your riding needs. Start by adjusting the rear derailleur to align with your desired gear ratio.
Then, shift up and down while pedaling to ensure the gears shift smoothly. Remember to adjust the front derailleur to ensure smoother shifting between chainrings. With the gears adjusted, you can take your new BMX bike for a spin and enjoy the ride!
10. Test Ride and Adjust as Needed
Alright, we’re almost there! After assembling your BMX bike, it’s crucial to take it for a test ride to ensure everything runs smoothly.
Start with a few test pedals, ensuring the gears shift and brake pads engage properly. Adjust the brakes and gear shifting as needed. Then, take your bike to spin around the block, getting a feel for its handling and balance.
Make any necessary adjustments to the seat height or handlebar positioning. Take note of any creaks or strange noises that need to be addressed. Remember, the more comfortable and confident you feel on your BMX bike, the easier it will be to perform tricks and maneuvers. So, don’t rush this final step – take the time to get everything just right. Happy riding!
1. What tools and equipment are required to build a BMX bike?
Now that we’ve covered the basics of BMX bike-building let’s dive into the necessary tools and equipment. Here’s what you’ll need: a bike stand, hacksaw or tubing cutter, Allen keys, wrenches, a chain breaker tool, a spoke wrench, a torque wrench, a bottom bracket tool, and a tire lever.
You’ll also need specific components such as the frame, fork, headset, handlebars, cranks, brakes, chain, and wheelset. Some of these components may need to be purchased separately, so do your research and shop around to find the best deals.
Additionally, don’t forget to invest in safety gear such as a helmet, gloves, and knee pads to ensure you are protected while building and riding your BMX bike.
2. Where can I buy the components required for building a BMX bike?
I’ve found that the best place to buy components for building a BMX bike is at my local bike shop.
They have a wide variety of parts to choose from, and the staff is always willing to offer advice and recommendations based on my riding style and needs. However, if you don’t have a local bike shop nearby, many online retailers offer quality BMX components.
Some popular options include Dan’s Comp, Source BMX, and Empire BMX. Just be sure to research and read reviews before making any purchases to ensure you’re getting quality components.
And if you’re on a budget, you can always search for used components on websites like eBay or Craigslist; just be careful to inspect them thoroughly before making a purchase. With the right research and resources, you can easily find the components you need to build your dream BMX bike.

3. Can I build a BMX bike with used components?
Yes, you can build a BMX bike with used components. It can be a great way to save money while also being environmentally conscious.
However, it is important to ensure that the used components are in good condition and compatible. When purchasing used components, inspecting them closely for any signs of wear and tear is a good idea.
It’s also important to ensure the components will work well together so your BMX bike runs smoothly and safely. With careful planning and careful selection of components, you can build a high-quality BMX bike with used parts.

4. How long does it typically take to build a BMX bike?
Assembling a BMX bike is undeniably an exciting and rewarding experience for any biking enthusiast.
The time it takes to build a BMX bike usually depends on an individual’s expertise level, tools availability, and parts needed to complete the project. Average build time can vary between two to six hours, depending on your familiarity with the various components and your skill level with a wrench set.
I suggest taking your time to ensure every section is properly tightened and fitted as you assemble them. Trust me; putting in the extra time and effort to ensure a precise build will result in a bike you can rely on to last and perform optimally. So gear up and get ready to put in some elbow grease because the journey ahead is both challenging and rewarding.